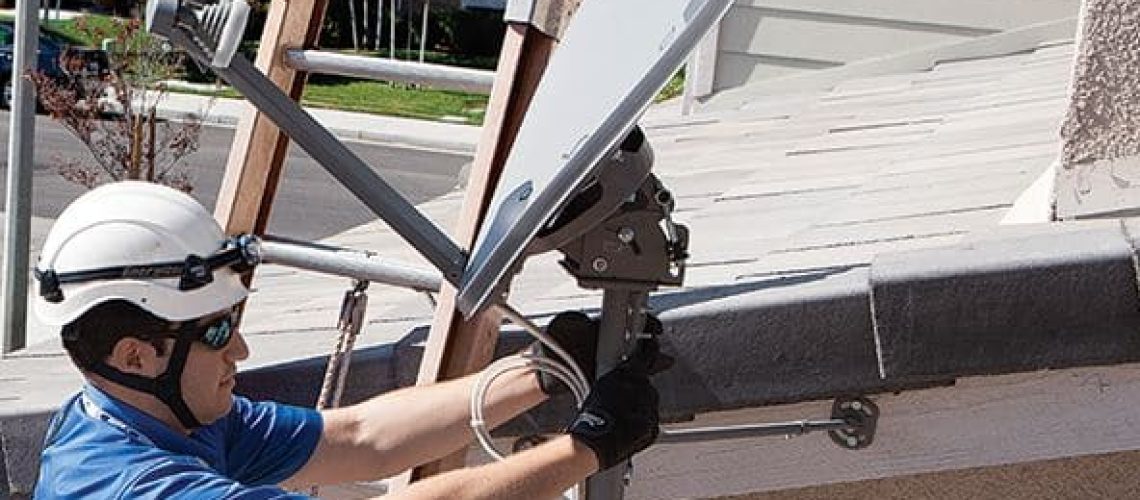
DIRECTV is primarily a satellite based service which requires a dish (a device that receives that digital TV signal from satellites in space) which is usually mounted either on a pole, side of the home, or roof top of the building or home.
The question we often get asked is, “How is DIRECTV installed?”
In order for us to answer that question and of course install your DIRECTV service, we need to supply all the necessary parts/equipment to do so (free for new customers) – this includes the following core Satellite items:
1. DIRECTV Reflector
Reflects the signal into the LNB “Eye of the Dish” (Measuring 22.5 inches X 32.5 Inches)

2. SWM 3 or 5 LNB
“The Eye”. Receives the reflected satellite signal (The Type of LNB depends on your location for satellite coverage)

3. Back Assembly

4. Back Assembly Mount
This allows the adjustment of the satellites Longitude and Latitude to point the dish at the correct satellites and also supply’s the mount hole for a mast/pole etc.

5. Arm
Holds the LNB “Eye” out away from the reflector, a coax cable runs through the arm to the back of the dish.

6. Mount/Masts

7. Splitters
Used to split the satellite signal into multiple locations (4 way SWM splitter shown – used on jobs with 3 or more TVs) 2 Way and 8 Way splitters are also used often depending on the amount of TVs.

8. Assembled Dish

Ok, Now that that’s out of the way we can now answer the question “How is DIRECTV installed?”
We think it’s easiest to show you a diagram to give you the idea!
As you can see – the DISH/LNB Unit will be attached outside – normally mounted to the home, under the roof eaves, on the rooftop, or on a pole in the yard.
The satellite signal then comes in through the LNB unit into a RG6 Coax cable (recommended for all DIRECTV installations).
This signal is fed into where ever your home or business primary cable splitter junction box is – this could be the side of your home in a wiring box, in a utility room, laundry room or in the attic. In this diagram we are assuming the existing splitter junction is in the attic – in this case we would replace the existing splitter with our SWM splitter as DIRECTV IS NOT compatible with non-swm splitters.
Once the main satellite feed is connected to the SWM splitter, it is then fed through out the entire home (in most cases through your existing COAX wiring) – so no additional wiring is usually needed.
In this case we have a Genie/Mini setup- the GENIE receiver acts as the primary receiver in the house and the genie minis are the slaves to the Genie. They all communicate and work together through the same single wire SWM network.
And no don’t worry – every single TV in the home can watch separate programming at the same time!
We highly recommend you always have a professional install your DIRECTV systems, especially due to possible injury as well as the difficulty in aligning the satellite dish to our satellites.
If you are looking to ORDER DIRECTV service, please visit our ORDER DIRECTV page.
If you want to learn more about our receivers and equipment, be sure to visit our DIRECTV Equipment page.


